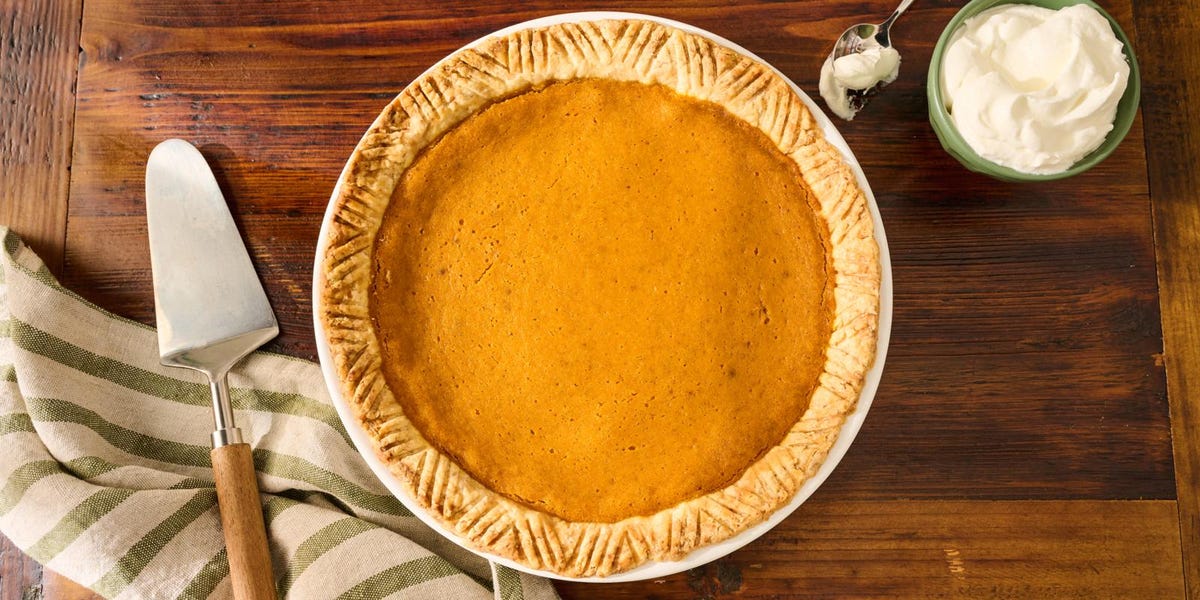
Tackling a holiday food project in advance can boost morale, and an easy press-in pie crust is the perfect task to do just that. What makes this pie crust recipe unique is that it’s all made in one vessel; the pie plate. This seemingly unconventional method actually works great! The end result is a homemade pie crust that is buttery, tender, and doesn’t require the use of a rolling pin. All you need to do is mix everything in the pie plate and press it out evenly. Then you can carry on with your favorite homemade pie recipe. It’s as simple as pie!
A common question regarding press-in pie crust is whether you need to blind bake it. Blind baking refers to pre-baking a crust before adding the filling. It’s a technique that’s often used when dealing with extra moist pie fillings such as custard, or no-bake pie fillings like chocolate meringue, to ensure that the crust is thoroughly cooked. However, not all pie recipes require blind baking. Sometimes, the filling is added to the raw crust and then baked together in the oven. This press-in crust recipe can cater to both situations; so whether you need to blind bake it or not, it’ll work perfectly.
So, can you crimp a press-in pie crust? The answer is yes, but keep the crimping simple. Since this crust doesn’t have the same elasticity as a traditional pie crust, creating intricate crimps or borders can be difficult. Press-in pie crusts often bear a shortbread-like texture. You can use the tines of a fork to create a chevron pattern for this crust, an idea that’s both easy to do and aesthetically pleasing.
You might then wonder if a press-in pie crust can be made ahead of time. The answer is once again, yes. However, the best method is to press the dough into the pie plate immediately after making it. Then, wrap the pie plate in plastic and store it in the refrigerator for up to three days, or in the freezer for up to a month.
Now, let’s talk about the ingredients. You’ll need 2 cups of all-purpose flour, 2 teaspoons of granulated sugar, 1/2 teaspoon of kosher salt, 1/4 cup of melted salted butter (equivalent to 1/2 a stick), 1/4 cup of vegetable oil, and 3 tablespoons of ice water.
The preparation method is simple. In a 9-inch pie plate, whisk together the flour, sugar, and salt. Make a small well in the center, add the butter, oil, and ice water, then use a fork to mix the liquids into the flour until the dough comes together.
Next, use your hands to press the dough into the bottom and sides of the pan. If you have a dry measuring cup, you can use it to press the dough evenly and smoothly. You can also add a simple crimp to the edges if desired. The dough should then chill in the refrigerator for about 30 minutes before filling in order to reduce shrinkage.
If you decide to blind bake the crust, line it with parchment paper or foil first and then fill it with pie weights or dried beans. This helps to prevent the dough from puffing or slumping. Bake the crust in a 400˚F oven until the edges are lightly golden, which takes about 18 to 22 minutes. Then remove the pie weights and parchment paper, and bake the crust again until it’s lightly golden all over. This should take another 10 to 12 minutes. Let the crust cool down to room temperature before filling.
There you have it, a press-in pie crust made easy, perfect for your holiday baking!


