So, you wanna plant some tulips, huh? It’s not too hard, but there are a few things you gotta know to make sure those beautiful flowers actually pop up in the spring. I mean, nobody wants to put in all that work just for a bunch of sad, empty spots in the garden. This little guide will walk you through everything, from picking out the right bulbs to keeping them happy all winter. We’ll get those tulips blooming, no problem.
Key Takeaways
- Pick the right tulip bulbs and check them over before you plant.
- Plant your tulip bulbs at the right time in the fall.
- Make sure your planting spot has good sunlight and soil.
- Get the soil ready and plant your tulip bulbs at the correct depth and spacing.
- Take care of your tulips after planting, especially through winter, for nice spring blooms.
Choosing the Right Tulip Bulbs
Types of Tulips
So, you’re thinking about planting some tulips, huh? That’s awesome! But before you even think about getting your hands dirty, you’ve gotta pick out the right bulbs. It’s not as simple as just grabbing the first bag you see. There are tons of different kinds of tulips out there, and knowing a little bit about them will help you get exactly what you want for your garden. You’ll find tulips in all sorts of colors, shapes, and even heights, so take your time to explore the options.
Here’s a quick rundown of some popular types you might come across:
- Single Early Tulips: These are some of the first to bloom in spring, usually with classic cup-shaped flowers. They’re pretty sturdy and good for forcing indoors too.
- Darwin Hybrid Tulips: If you want big, bold flowers on strong stems, these are your go-to. They come in a huge range of colors and are known for coming back year after year.
- Triumph Tulips: This is probably the biggest group, offering a massive variety of colors and flower forms. They bloom mid-spring and are super reliable.
- Fringed Tulips: These have cool, crystal-like fringes on their petal edges, giving them a unique look. They’re a bit more delicate but totally worth it for the visual interest.
- Lily-Flowered Tulips: Just like the name says, their petals curve outwards, making them look a bit like lilies. They’re elegant and come in some really striking colors.
Choosing tulip varieties can be a fun part of the process. Think about what colors you like, how tall you want them to get, and when you want them to bloom. Do you want a burst of color all at once, or a staggered display throughout the spring?
Inspecting Bulb Quality
Alright, once you’ve got an idea of what types of tulips you’re after, the next big step is making sure you’re getting good quality bulbs. This is super important because a healthy bulb is the foundation for a healthy plant. You don’t want to put all that effort into planting only to have them fizzle out.
When you’re looking at bulbs, here’s what you should keep an eye out for:
- Firmness: Give the bulbs a gentle squeeze. They should feel firm and solid, not soft or mushy. A soft bulb usually means it’s rotting or has been damaged.
- No Mold or Spots: Check for any signs of mold, mildew, or dark spots. These can indicate disease, and you definitely don’t want to introduce that into your garden.
- Intact Outer Skin: The papery outer skin (tunic) should be mostly intact. It protects the bulb, so if it’s all torn up, the bulb might be more vulnerable to damage or drying out.
- Size Matters: Generally, bigger bulbs mean bigger, stronger flowers. While you might find smaller bulbs cheaper, they often produce smaller blooms or might not even flower at all in their first year.
- No Sprouts (Yet): Unless you’re buying them right before planting, you don’t want to see big green sprouts already coming out. A little tip is fine, but long sprouts mean the bulb has started growing prematurely and might not perform as well once planted.
If you’re buying bulbs in a bag, try to feel them through the packaging. If you can’t, and you get them home and find a bunch of duds, don’t be afraid to take them back to the store. You’re investing your time and money, so you deserve good quality bulbs.
Ideal Planting Time and Location
When to Plant Tulips
Timing is everything when it comes to planting tulips. You want to get those bulbs in the ground at just the right moment to give them the best shot at blooming beautifully in the spring. Generally, the sweet spot for planting is in the fall, specifically when the soil temperature consistently drops to around 60°F (15°C) or colder. This usually means sometime in October or November for most areas. If you live in a colder climate, you might be planting a bit earlier, and if you’re in a warmer region, it could be later. The key is to plant them before the ground freezes solid. Tulips need a period of cold to develop their root systems properly and prepare for their spring show. Think of it like they need a long winter nap to wake up refreshed and ready to go. If you get your bulbs but can’t plant them right away, make sure to store tulip bulbs in a cool, dry, and well-ventilated spot until you’re ready.
Sunlight and Soil Requirements
Once you’ve got the timing down, the next big thing is picking the perfect spot for your tulips. They’re not super picky, but they do have some preferences that will make a huge difference in how well they grow. Here’s what you need to consider:
- Sunlight: Tulips love the sun. They do best in a spot that gets full sun, which means at least six hours of direct sunlight a day. If you’re in a really hot climate, a little afternoon shade can be a good thing to protect them from scorching, but generally, more sun equals more blooms.
- Soil Drainage: This is probably the most important factor. Tulips absolutely hate wet feet. If their bulbs sit in soggy soil, they’ll rot faster than you can say "spring." You need soil that drains well. If your soil is heavy clay, you’ll want to amend it with organic matter like compost, peat, or well-rotted manure to improve drainage. This helps prevent water from pooling around the bulbs.
- Soil pH: Tulips prefer a slightly acidic to neutral soil, with a pH between 6.0 and 7.0. If you’re unsure about your soil’s pH, you can get a simple soil test kit from a garden center. Adjusting the pH isn’t usually a huge deal for tulips, but it’s good to know if your soil is way off.
By paying attention to these details, you’ll be setting your tulips up for success, ensuring they have the best chance to thrive and bring vibrant color to your garden next spring.
Step-by-Step Planting Guide
Preparing the Soil
Before you even think about putting those bulbs in the ground, you’ve got to get the soil ready. This isn’t just about digging a hole; it’s about creating a welcoming home for your tulips. First, you want to make sure your soil drains well. Tulips hate sitting in soggy ground, it’s a quick way to rot them out. If your soil is heavy clay, you’ll need to amend it. You can mix in some compost or well-rotted manure. This helps break up the clay and improves drainage. For sandy soil, adding organic matter helps it hold onto nutrients and moisture better. You’re aiming for a loose, workable soil that’s not too compact. You can also add a bit of bulb fertilizer to the planting area; just follow the package directions. This gives your bulbs a nice little boost as they settle in.
Proper Planting Depth and Spacing
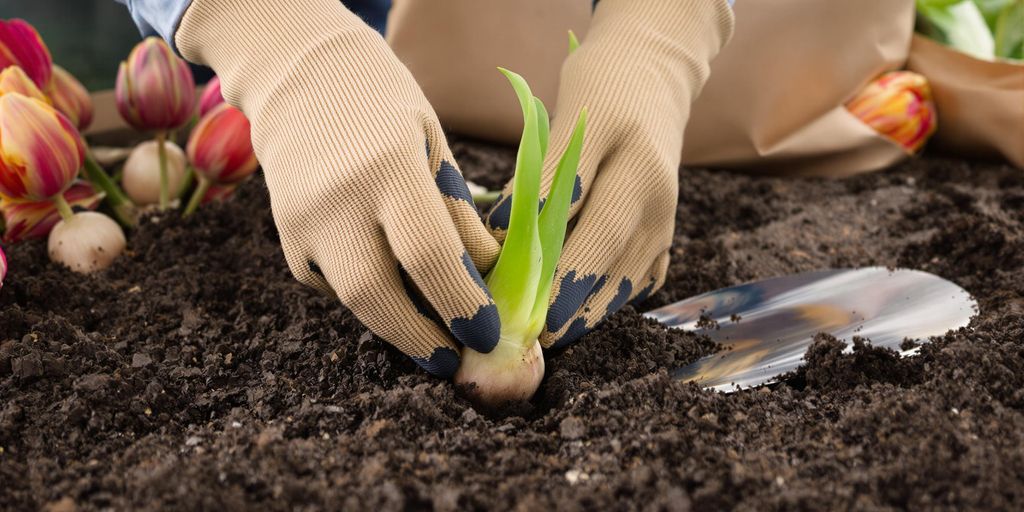
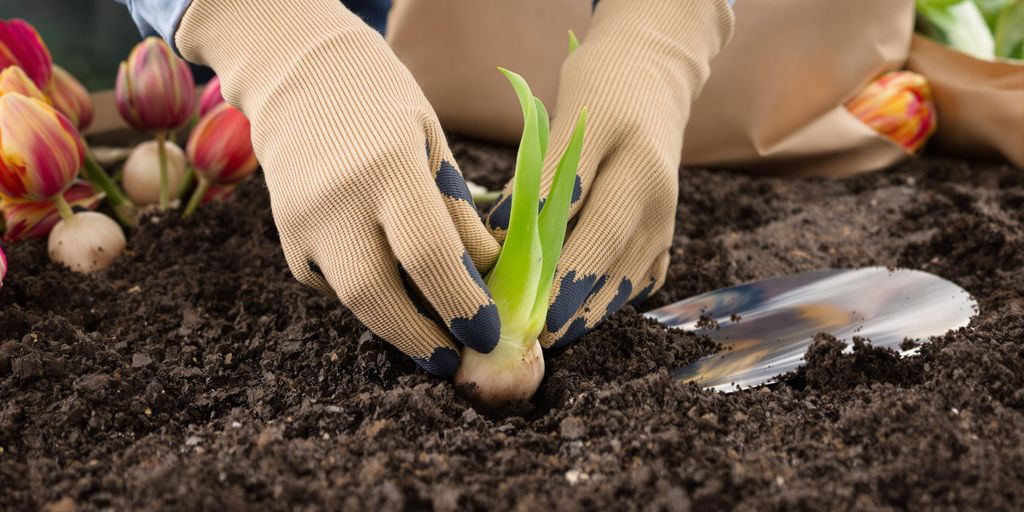
This part is pretty important for getting those beautiful blooms. You want to plant your tulip bulbs at the right depth and give them enough room to grow. Too shallow, and they might pop up too early or get damaged by frost. Too deep, and they might struggle to emerge. A good rule of thumb is to plant them about three times their height deep. So, if your bulb is 2 inches tall, you’d plant it 6 inches deep. Always plant them with the pointy end facing up; that’s where the stem will emerge. As for spacing, it depends a bit on the variety, but generally, you want to give them some breathing room. If you’re going for a natural look, you can scatter them and plant them where they fall. For a more formal display, measure it out. Here’s a quick guide:
- Small bulbs (like species tulips): Plant 4-6 inches deep, 3-4 inches apart.
- Medium bulbs (most common varieties): Plant 6-8 inches deep, 4-6 inches apart.
- Large bulbs (Darwin hybrids, Emperor tulips): Plant 8-10 inches deep, 6-8 inches apart.
Make sure the bulbs don’t touch each other. Once they’re in the ground, gently cover them with the prepared soil, making sure to remove any large clumps or rocks.
Watering After Planting
After all that hard work, don’t forget this crucial step. Once your tulip bulbs are nestled in their new home, you need to give them a good drink of water. This isn’t just about hydration; it helps settle the soil around the bulbs and eliminates any air pockets that might have formed during planting. Air pockets can dry out the bulbs or prevent good root contact with the soil. Water thoroughly until the soil is moist but not waterlogged. You want the water to reach the depth where the bulbs are planted. If you’re planting in very dry conditions, you might need to water a bit more. After this initial watering, you generally won’t need to water again until spring, unless you live in a very dry climate with no winter precipitation. The goal is to encourage root growth before the ground freezes. For more tips on keeping your plants happy, check out this guide on repotting succulents.
Post-Planting Care for Thriving Tulips
Winter Protection and Spring Maintenance
Once you’ve got your tulip bulbs in the ground, the work isn’t entirely over. You’ve put in the effort to learn how to plant a tulip, and now it’s about making sure they come back strong year after year. Protecting them through the colder months and giving them a little attention in spring is key to seeing those beautiful blooms.
Winter protection is pretty straightforward for most tulips. If you live in an area with really harsh winters, where the ground freezes solid for a long time, you might want to add a layer of mulch over the planting area. This could be straw, wood chips, or even fallen leaves. About 2-3 inches should do the trick. It helps insulate the soil, keeping the temperature more consistent and preventing the bulbs from getting shocked by extreme cold. This also helps with moisture retention, which is good, but remember, tulips don’t like to sit in soggy soil. So, if you get a lot of winter rain or snow, make sure your drainage is still good.
When spring rolls around and you start seeing those green shoots pop up, that’s when you shift to spring maintenance. Here’s what you should keep in mind:
- Watering: Once the leaves appear, tulips generally don’t need a ton of extra water unless it’s a really dry spring. Normal rainfall is usually enough. Overwatering can lead to rot, and nobody wants that after all your hard work.
- Fertilizing: You can give them a little boost in early spring when the sprouts emerge. A balanced bulb fertilizer, something like a 4-10-6, works well. Just sprinkle it around the base of the plants according to the package directions.
- Deadheading: Once your tulips have finished blooming, you’ll notice the flowers start to fade. This is called deadheading. You want to snip off the spent flower head, but leave the stem and leaves alone. This prevents the plant from putting energy into making seeds and instead directs it back into the bulb. This is super important for after tulips bloom what do you do if you want them to return next year.
- Foliage: Don’t cut back the leaves until they’ve turned yellow and started to die back naturally. The leaves are like little solar panels, gathering energy from the sun and storing it in the bulb for next year’s bloom. If you cut them too soon, you’re essentially starving the bulb, and you might not get flowers the following season. This is a common mistake people make when they wonder how to revive tulips that didn’t bloom.
By following these simple steps, you’ll give your tulips the best chance to thrive and come back year after year, bringing that beautiful splash of color to your garden each spring.
Wrapping It Up
So, there you have it! Planting tulips really isn’t that hard, right? Just a few simple steps, and you’ll be on your way to seeing those amazing blooms pop up in your garden. It’s pretty cool how something so small can turn into such a beautiful flower. Give it a try, and you’ll be glad you did when spring rolls around and your yard is full of color.
Frequently Asked Questions
When is the best time to plant tulip bulbs?
Tulips are best planted in the fall, usually from September to November, before the ground freezes solid. This gives them enough time to grow roots before winter sets in.
What kind of spot is best for planting tulips?
Tulips love sunny spots that get at least six hours of direct sunlight each day. They also need soil that drains well, meaning it doesn’t stay soggy after it rains.
How deep should I plant tulip bulbs?
You should plant tulip bulbs about 6 to 8 inches deep, or roughly three times the height of the bulb itself. Make sure the pointy end of the bulb faces up!
How far apart should tulip bulbs be planted?
When planting, leave about 4 to 6 inches of space between each tulip bulb. This gives them enough room to grow without being too crowded.
Do I need to water tulip bulbs right after planting?
After planting, water the area well. This helps settle the soil around the bulbs and tells them it’s time to start growing roots.
How do I protect my tulips in winter?
If you live in a very cold area, you might want to add a layer of mulch (like straw or wood chips) over the planted area after the ground freezes. This helps protect the bulbs from harsh winter weather.
Do tulips come back every year?
Tulip bulbs are usually good for one great show of flowers. Some types might come back for a few years, but many gardeners treat them like annuals and plant new ones each fall for the best display.
Can I plant tulips in pots or containers?
Yes, you can plant tulips in pots! Just make sure the pot has drainage holes at the bottom and use good potting soil. You might need to bring the pots indoors to a cool, dark place during winter if you live in a very cold climate.


